
Winter builds or projects related to model flying.
If you would like to share your latest project please send pictures and any information to this email address: nbrmasociety@gmail.com.
If you have any questions about the articles email a question and we’ll get them answered.

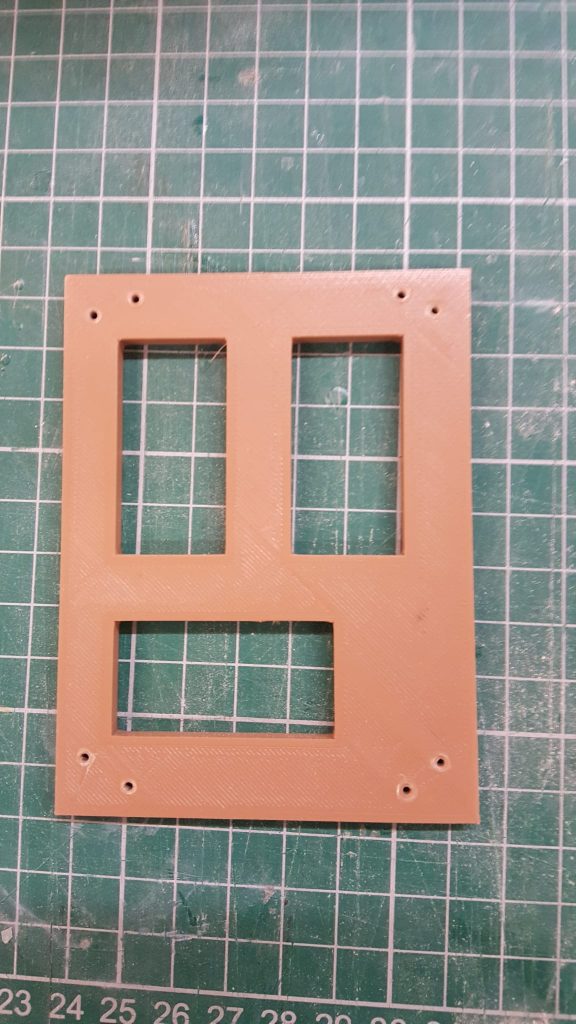
3D Printed Servo Trays …
Servo Tray (£2.00)
Printed servo tray for installation in fuselage, for three standard servos to operate rudder, elevator and throttle. Can be made to accommodate servos of a different size if necessary.
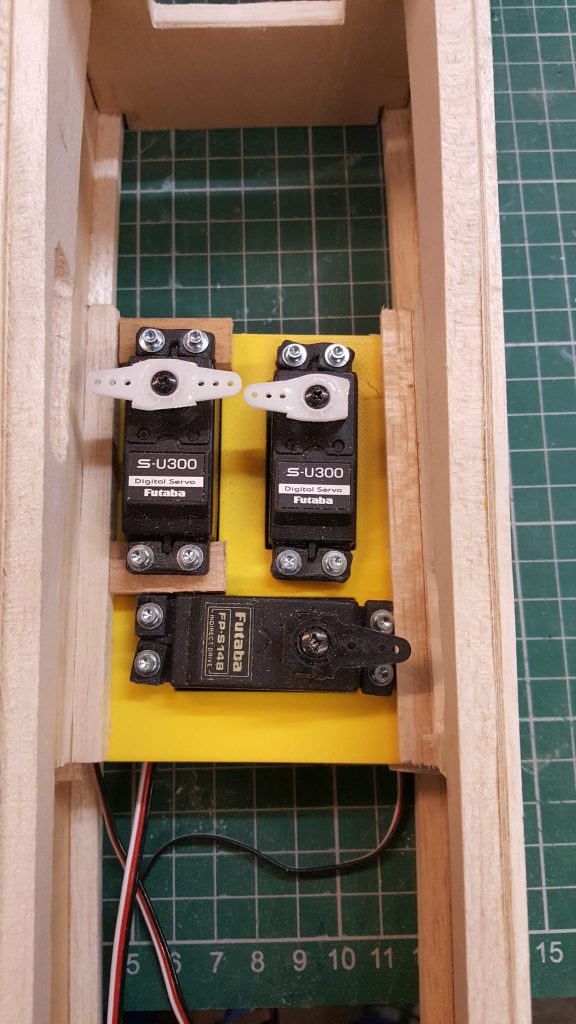
Servo tray in situ
Servo tray installed in fuselage
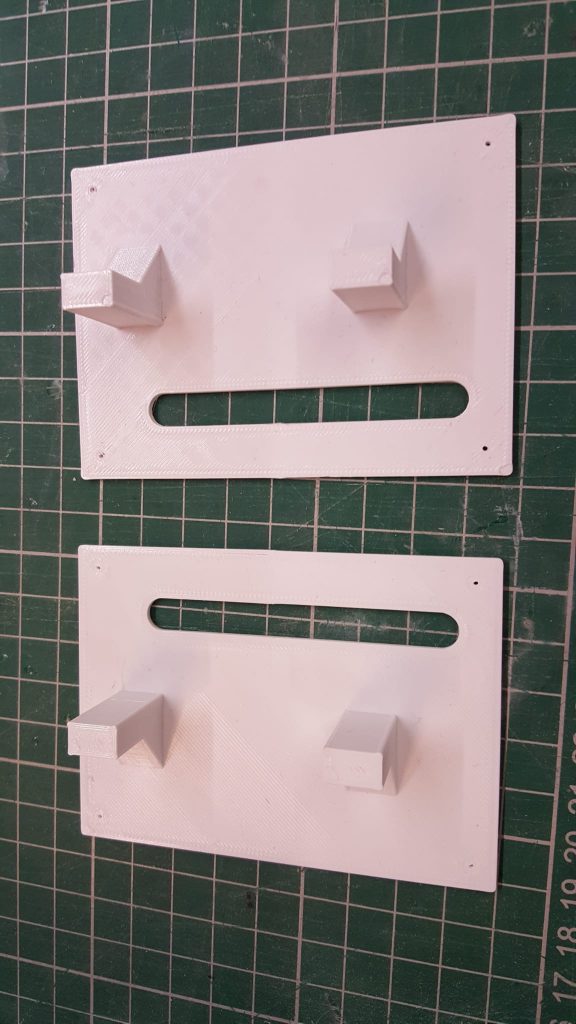
Wing servo mounts (£4.00)
Two servo mounts (left & right) for wing mounting servos.
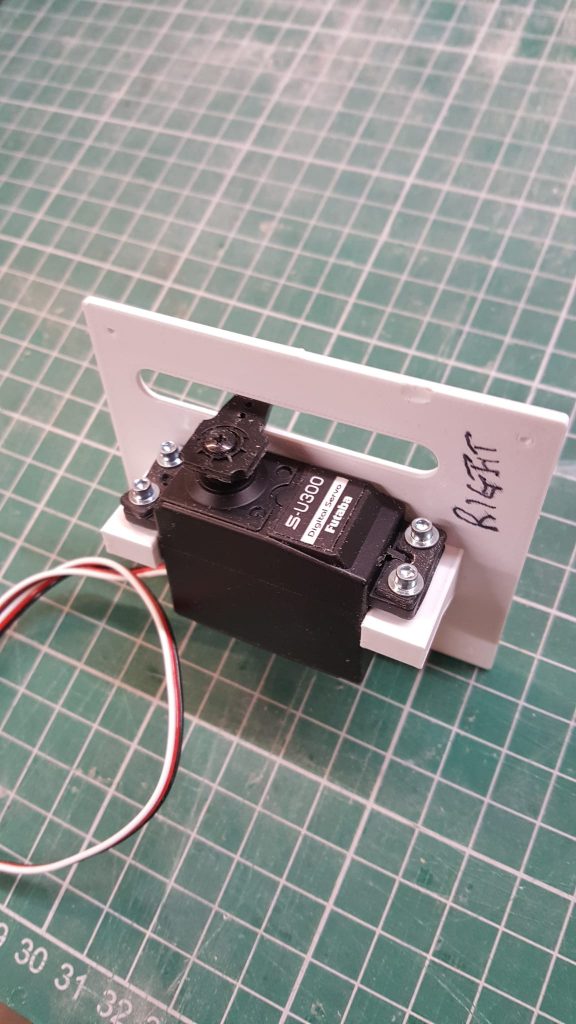
Wing servo mounts in situ
Showing servo in the wing mounting. Servos can be screwed into the plastic after drilling a 1.5mm pilot hole.
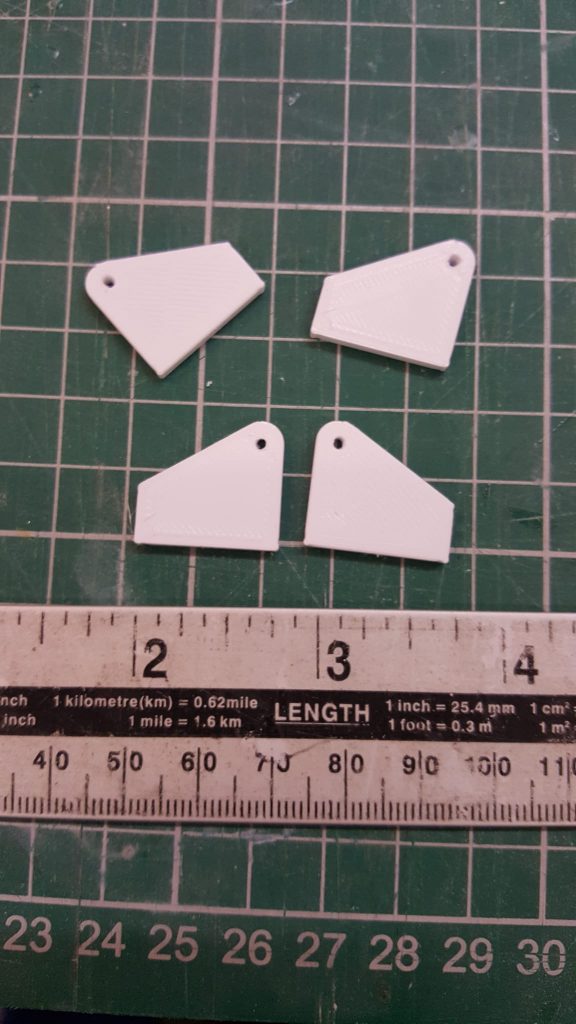
Control horns (£1.00)
Set of four brackets used to couple ailerons between upper and lower wings on a biplane.
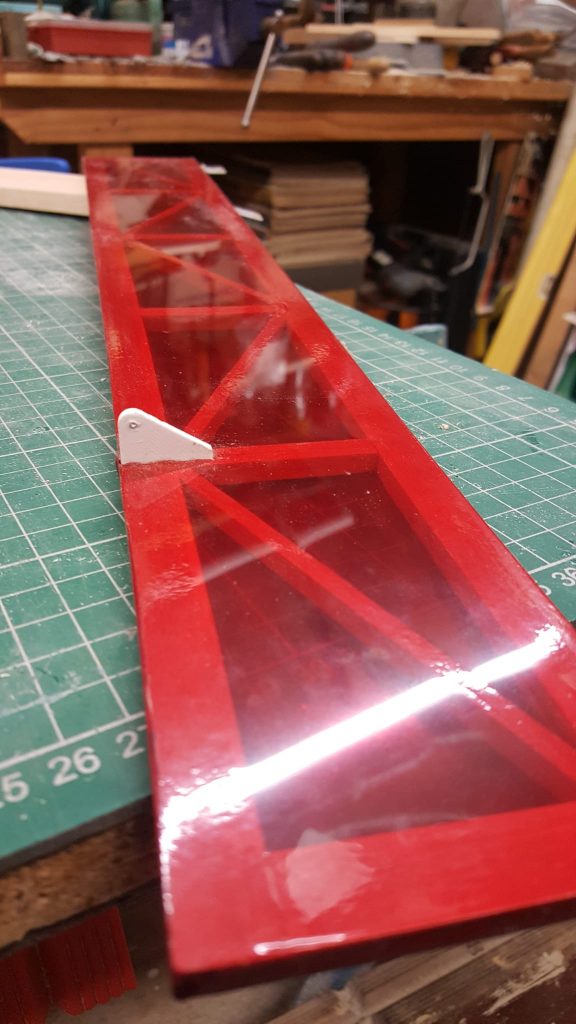
Control horns in situ
Ailerons link bracket glued into the ailerons of a Panic viper.
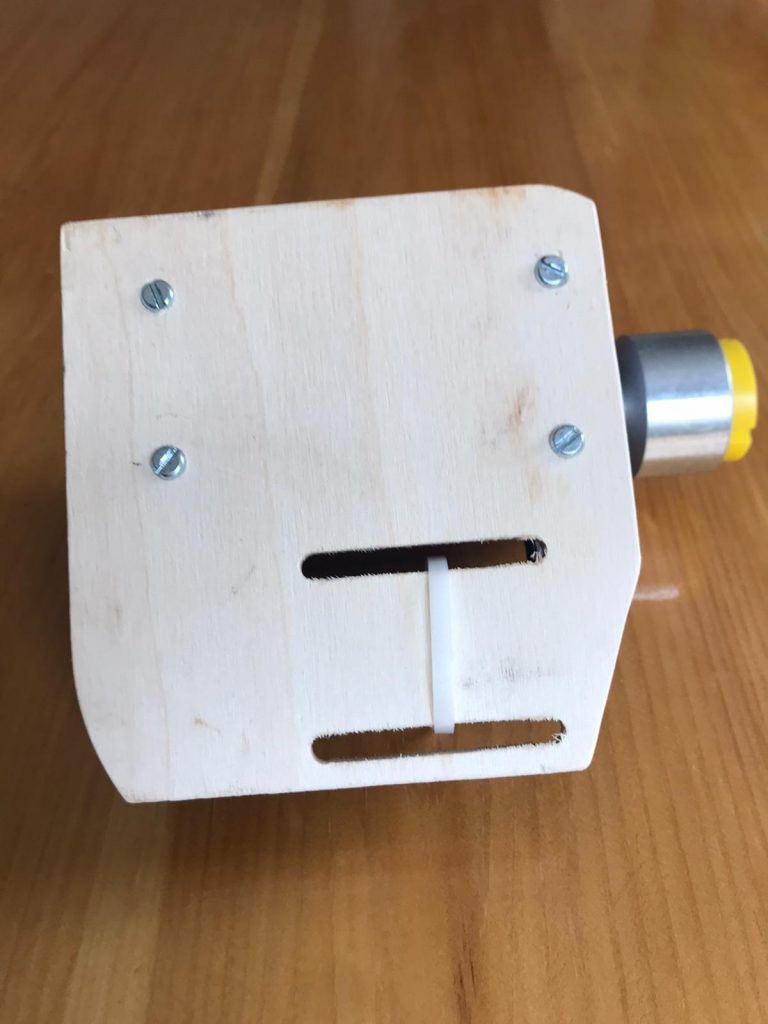
For those fed up with carrying heavy 12v batteries to power their starters Tim can help …

He’s converted his JP Power Torque to work with a 3S 2200mah pack with little more than four screws, bit of plywood and a cable tie.

In his words ‘simple, but effective as having the battery on the side prevents is falling over over use.’ Job done!
Jim has been busy on another project recently:
Several of our senior members, including myself, are suffering back pain, knee problems and general stiffness in places we don’t need it. I have found more increasingly that when I finally stand up after cranking an engine or changing a prop, I stagger to the flight line, preoccupied with pain rather than concentrating on the forthcoming flight.
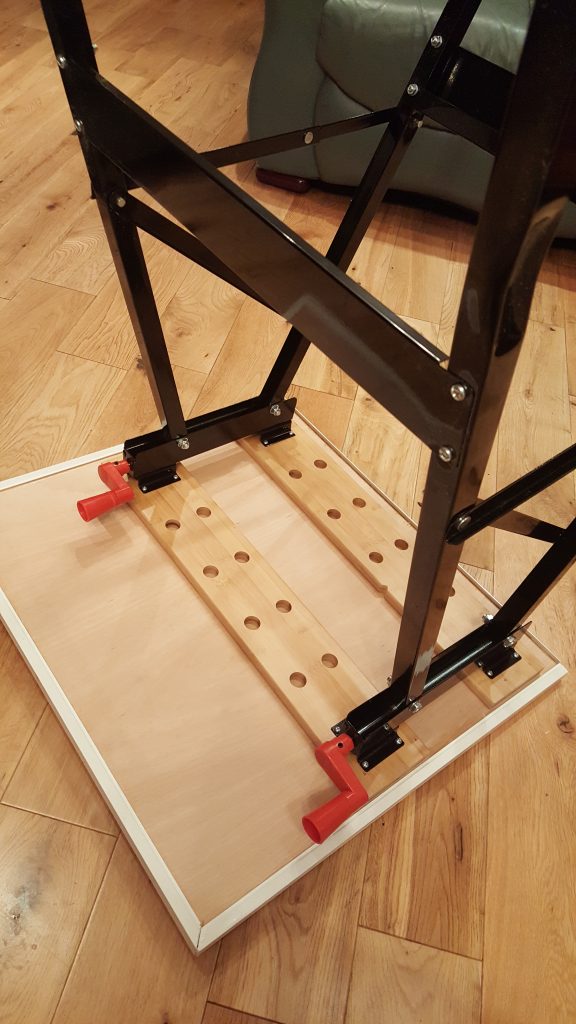
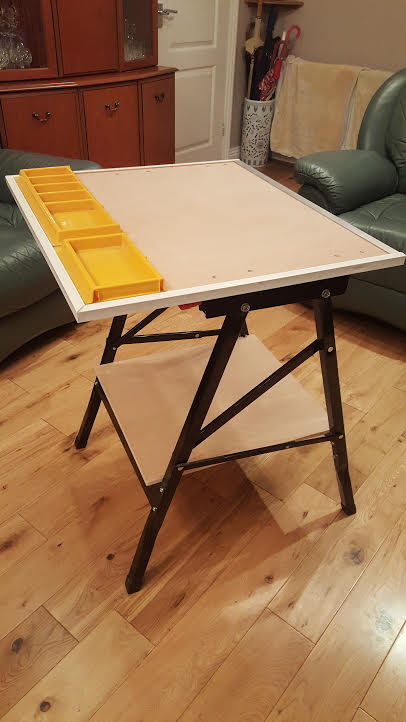
This field bench can be constructed at a very low cost, with just a couple of days labour. The basic ‘workmate’ is available from Screwfix for about £22. The ½ inch plywood will cost about £12.
I have made the table top from a piece of ply, cut to 22″ X 24″ this leaves enough left over for the end plates of the cradle and a shelf, between the legs of the extended stand for your transmitter case and fuel etc.
The jaws of the vice are fully extended and the table top is screwed directly to them.
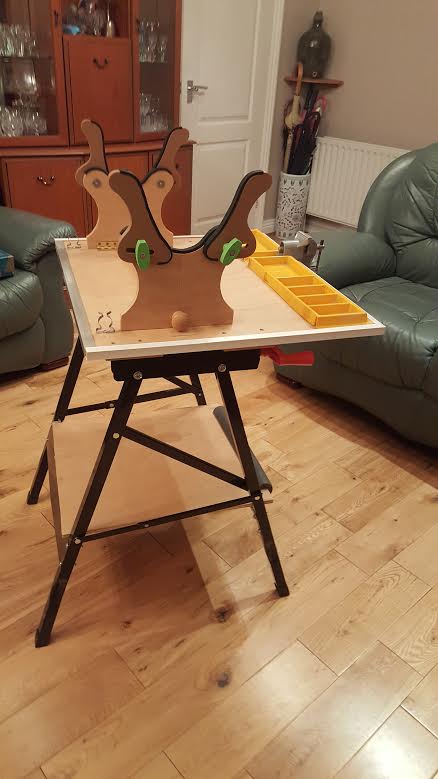
End plates of the cradle are hinged to the top and will fold inwards for storage.
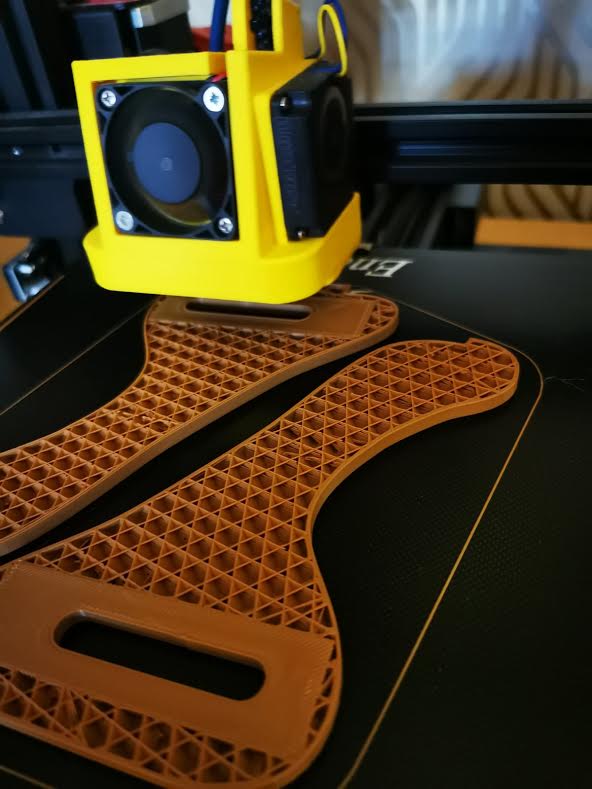
The cradle arms can also be cut from plywood, but I cheated by getting my son, Freddie to make them for me on his 3D printer. A spine of wood, approx. 3/4″ x 2″ is wedged and screwed between the end plates to keep them rigid. You can easily make the end pieces fixed in place if you wish.
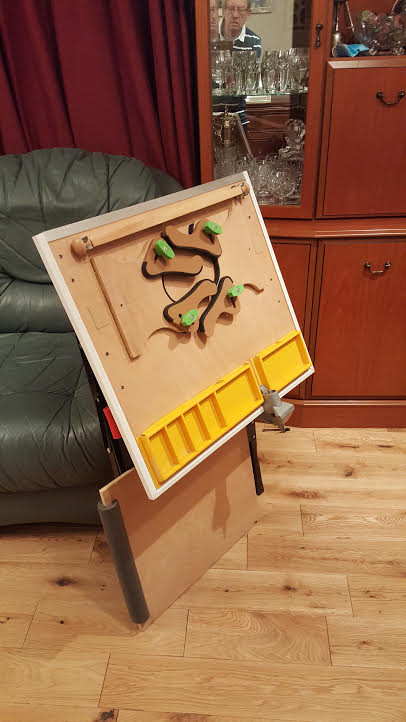
This device has yet to be tested in practice, but it is strong and very stable and I feel sure it will bring some pain relief to our more ancient members. I will leave this in the portacabin so, please feel free to use it if I am not at the field. Just keep it clean and put it away after use.
Jim H
Workmate shown inverted over 1/2 inch ply cut to size:
Basic bench with ply top and centre shelf fitted:
End plates are cut to shape and fitted with hinges to enable compact:

End plates with cradle arms are fitted:
Alternative top view:

My son, Freddie made the four cradle arms on his 3D printer:
The whole bench folds fairly neatly with the centre shelf separate:
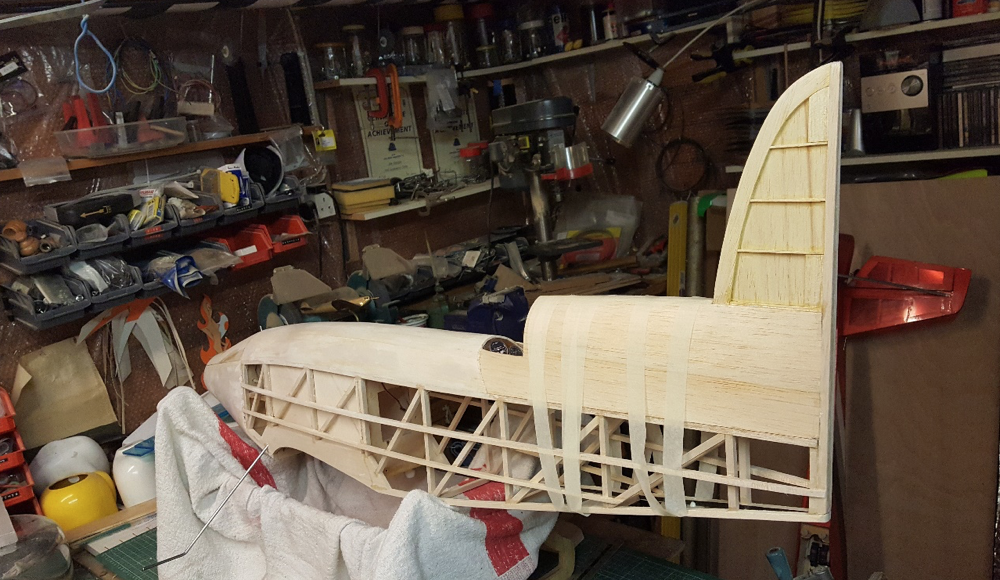
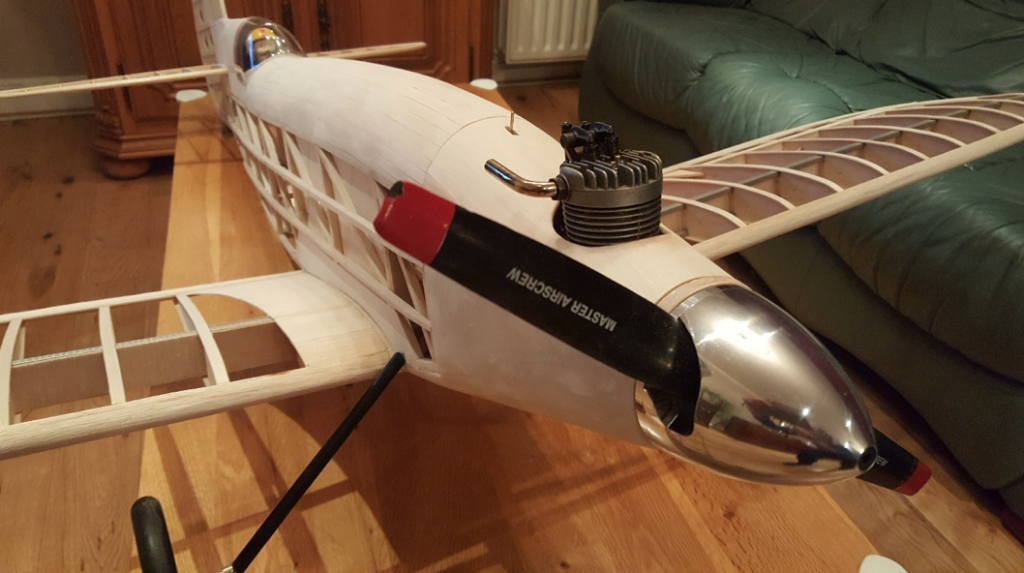
Jim’s Tiger shark part 3
Some progress has now been made since the last posting and the planking starts on the cowling and fuselage.
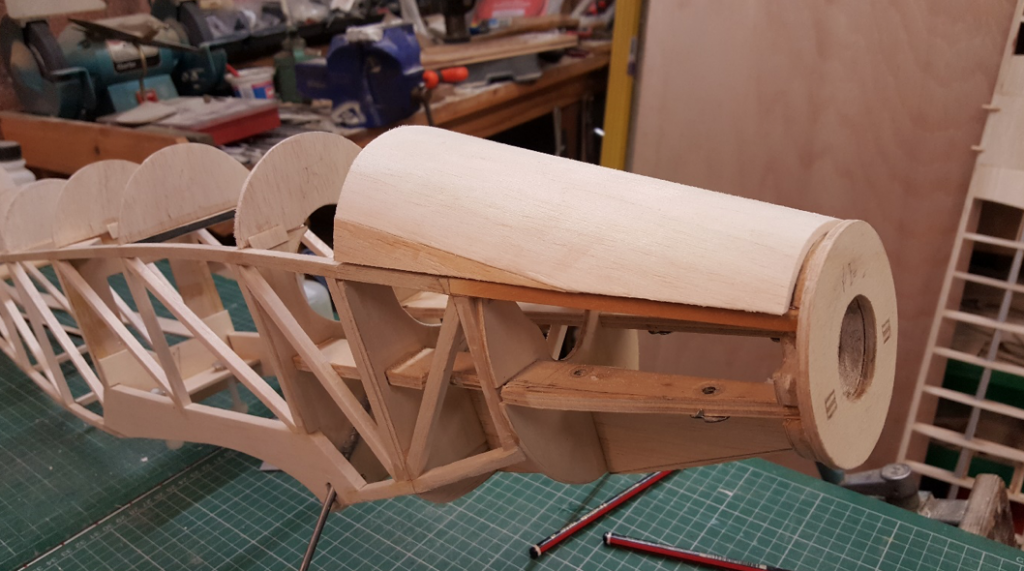

First the cowling is rough finished and then the planking is extended to the rest of the fuselage.
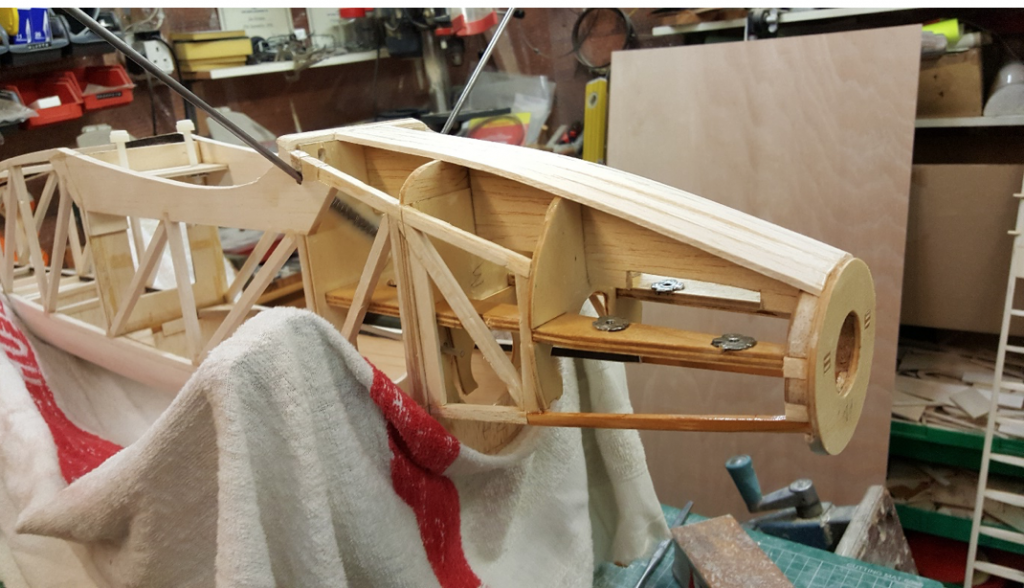
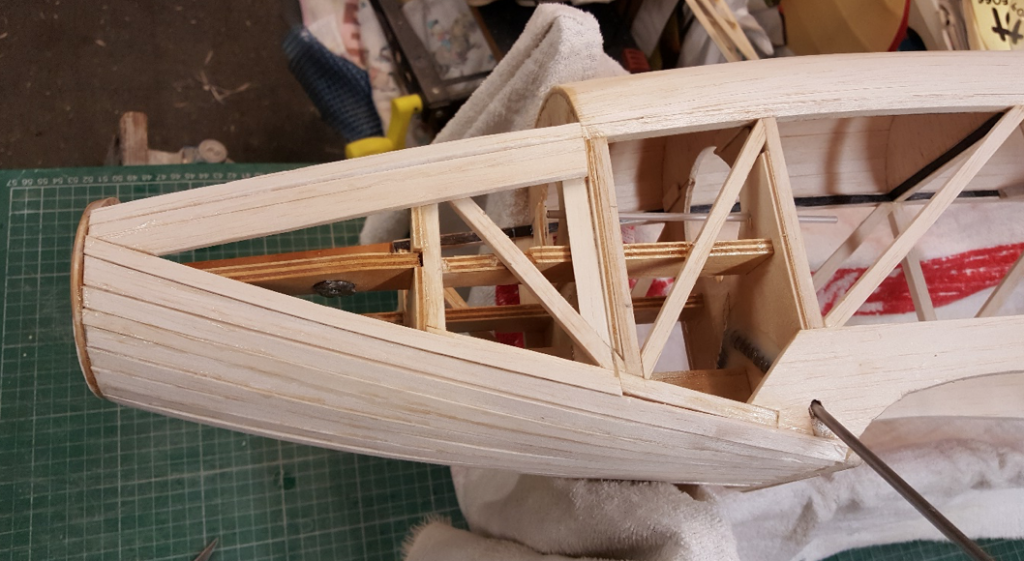
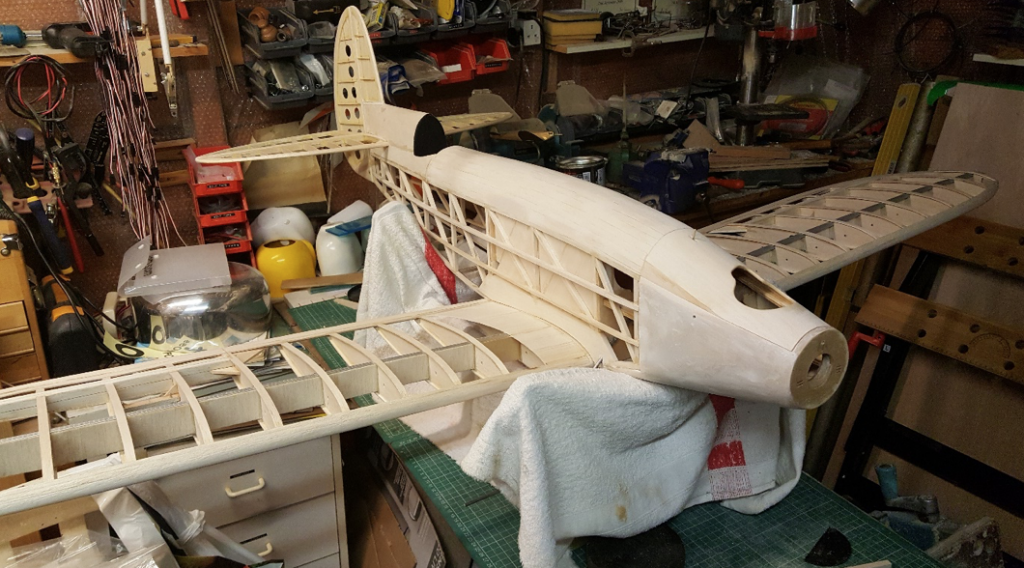
Frame for the tail sheeting is constructed and then planked.

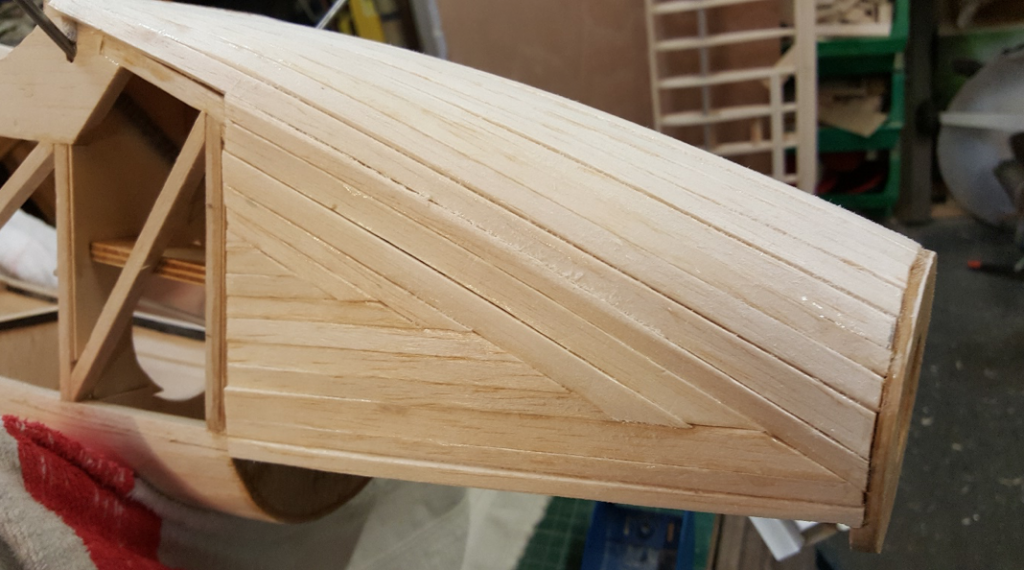
Almost finished and ready for covering and sparse décor.
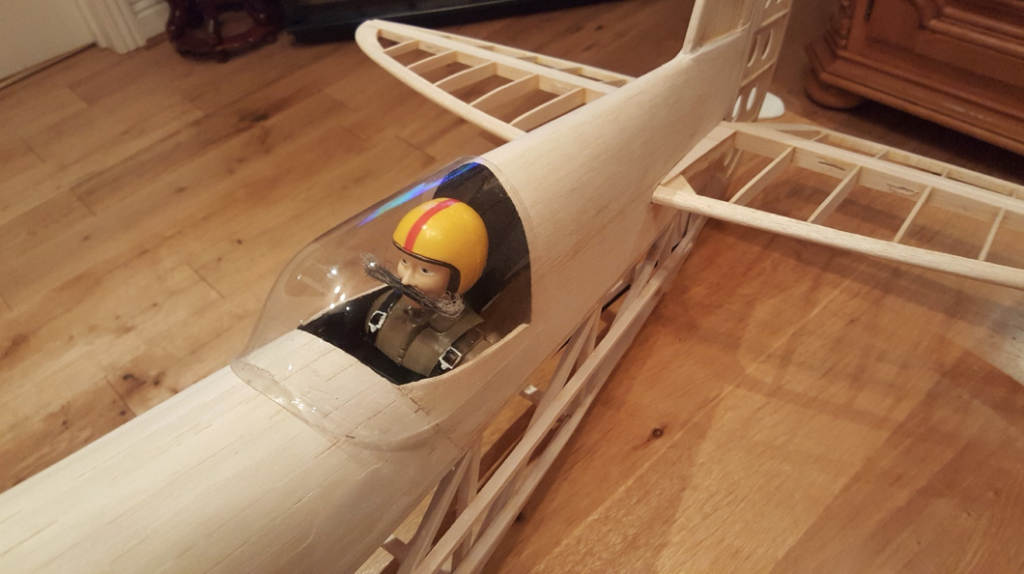
Which wheels?
Still deciding which pilot to use?
Here is Ian’s latest project … a 1/4 scale Spitfire which he is building for another very lucky club member.
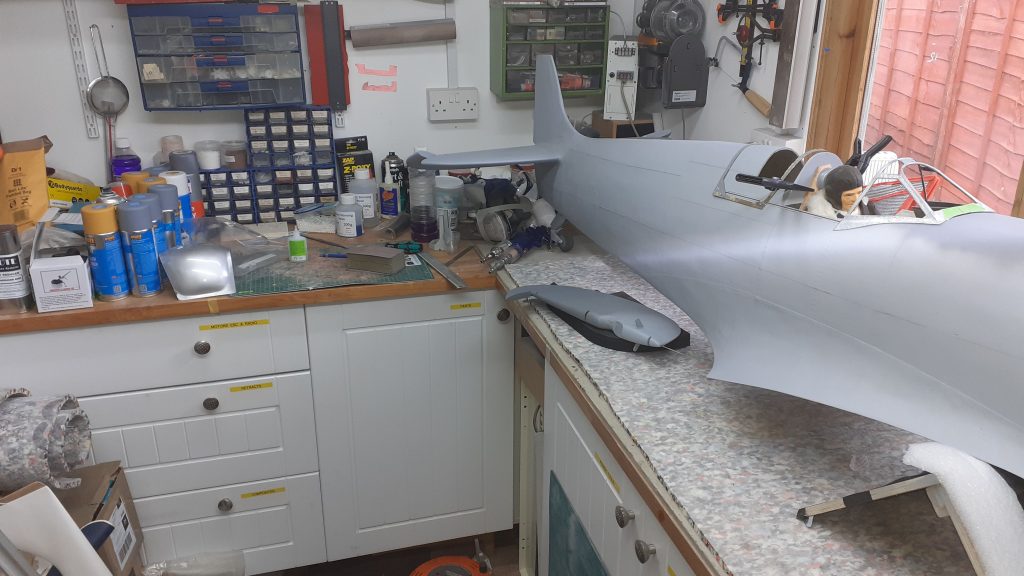
It’s got an 85cc DLE in it for power and is fairly big.
All composite construction but needs fitting out, painting and some detailing.
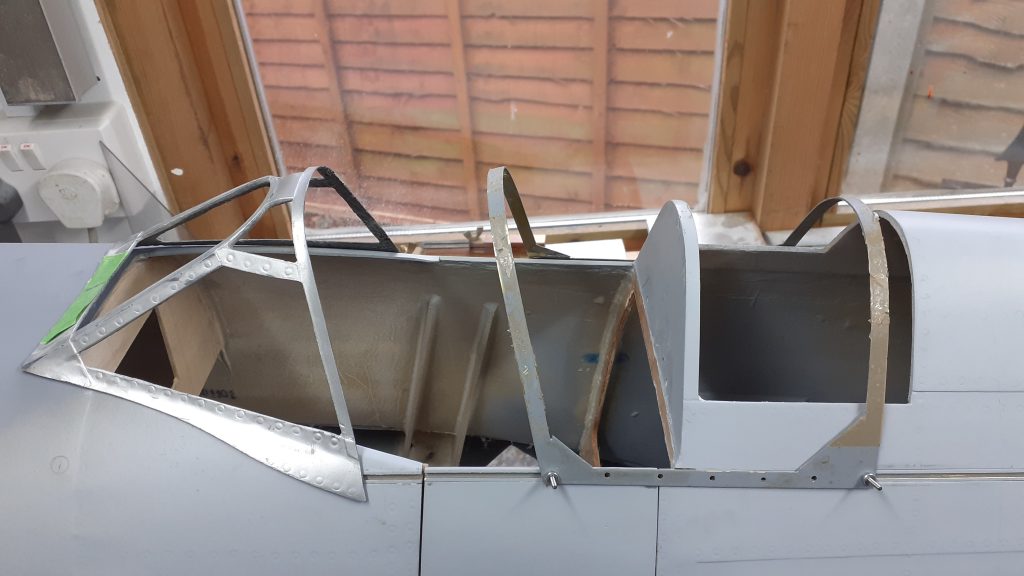
The dashboard is a Mick Reeves kit which contained around 100 parts.

Not surprisingly it’s taking time to put together.

Tiger Shark part 2.
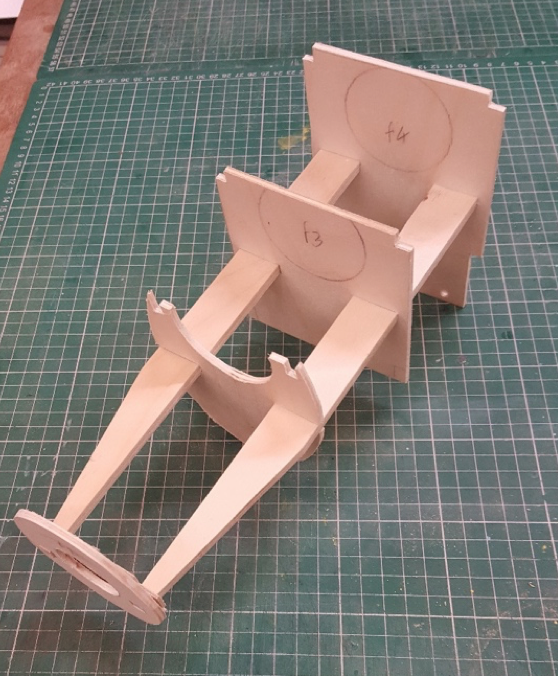
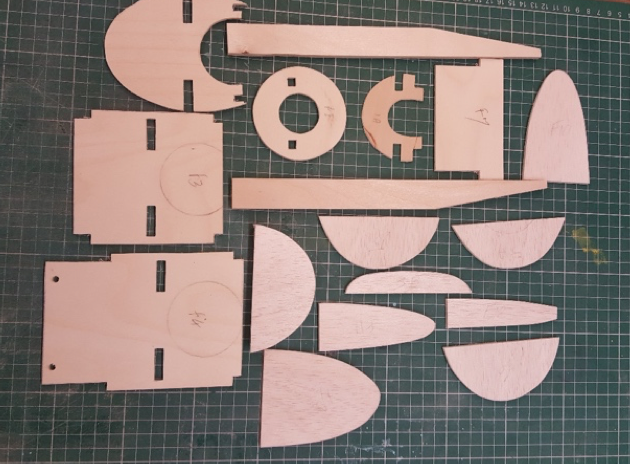
Starting to make some progress with the fuselage and the first job was to copy all of the formers and cut them out in either ply or balsa as required. Once this was completed, the ply formers were checked and dry fitted together. It is very important that this is done accurately as this forms the mount for the Engine and fuel tank and the front anchor point for the wing.
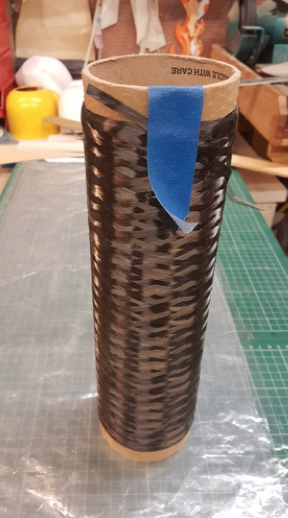
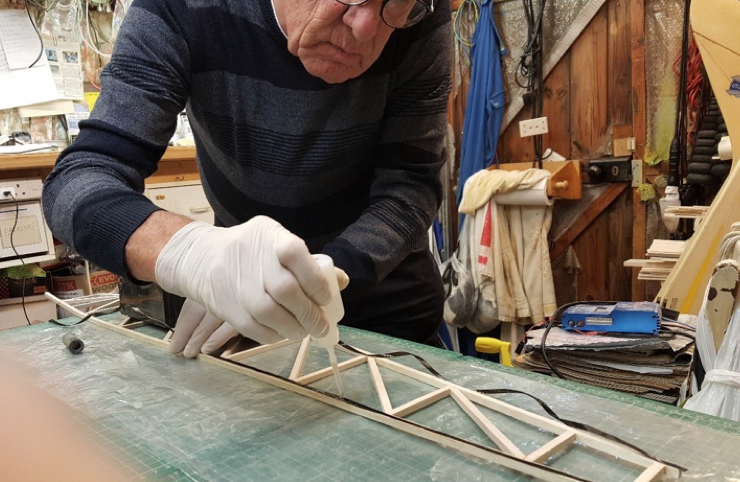
The fuselage sides are made over the plan from balsa…and I like to use Carbon ribbon or tow, as it is sometimes referred to as a reinforcement to the longerons. This is bonded to the balsa with cyanoacrylate adhesive and rubbed firmly into place with some scrap silicone tubing.
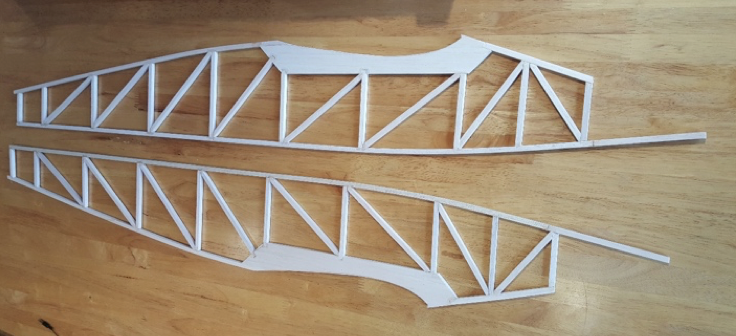
Carbon tow is available from Bucks Composites or most other fibre glass suppliers.
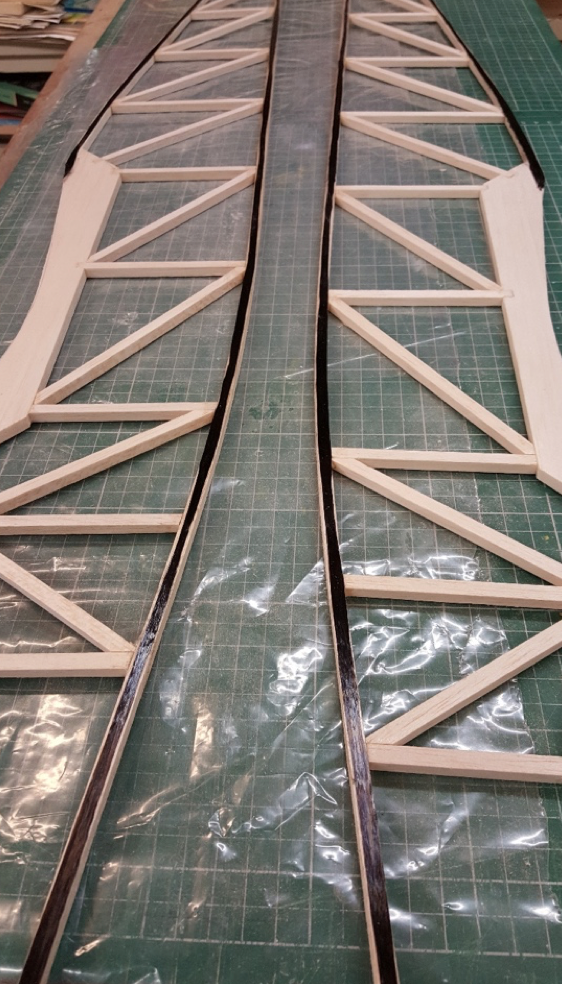
The finished sides should look something like this:
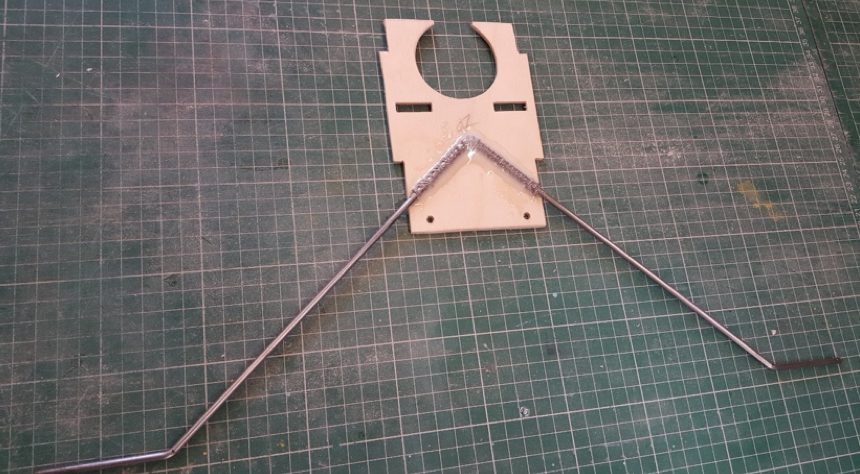
The main undercarriage is bound with heavy duty fuse wire and epoxied to former F4.
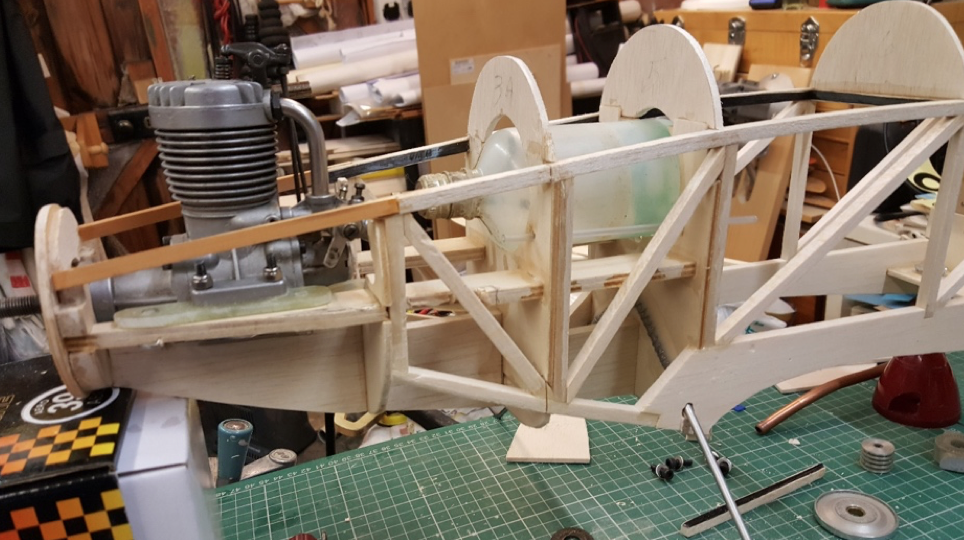
Everything can now be assembled and the wing can be drilled at the leading edge for the retaining dowels. The top formers are starting to define the finished profile and give the fuselage a more recognisable shape:


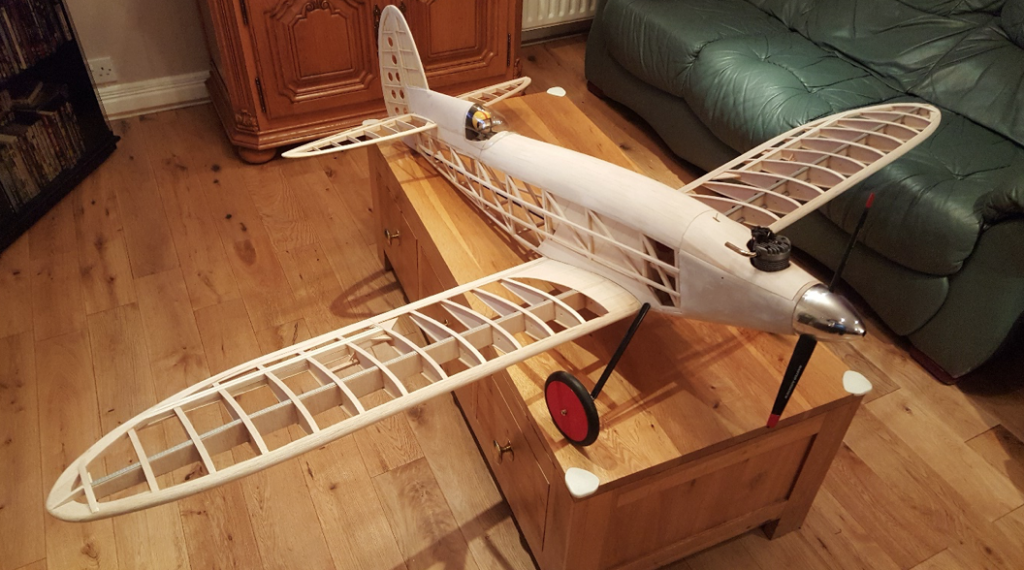
Jim’s rebuild …
Sometime ago I discovered a plan of a 71″ R/C version of a control liner, designed originally by Victor Stanzel in 1938. This new R/C version was re-drawn by, Paul Howkins 1990 and re-designed (crashed) by me, about two years ago. Steve Gosbee came with me into the adjacent field to pick up the pieces. The picture shows the only part that survived the impact.
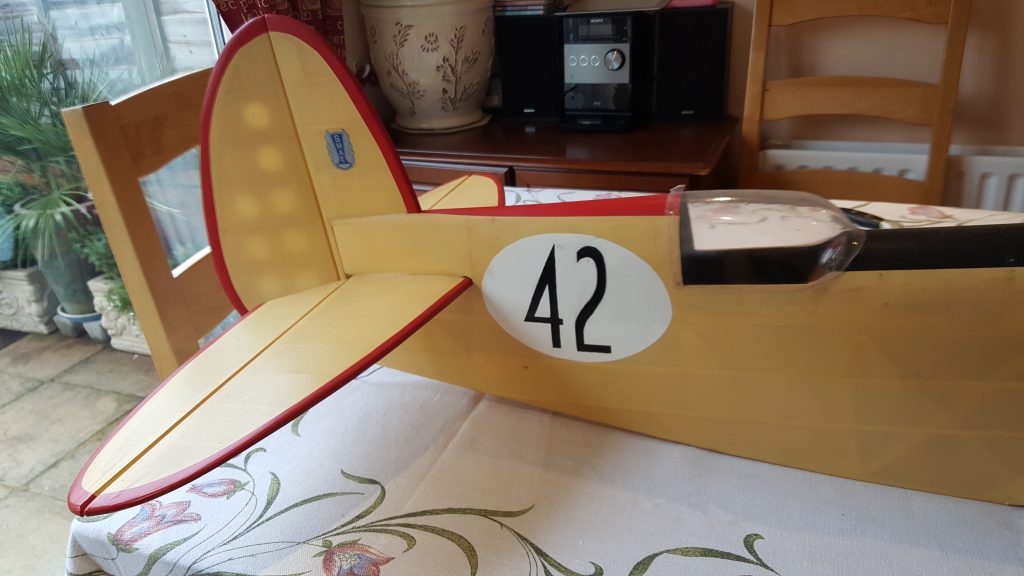
This portion of the fuselage was consigned to the loft and there it stayed until fairly recently. I must have had the idea in the back of my mind of rebuilding this machine at some stage so my enthusiasm was rekindled when I was sorting out some plans.
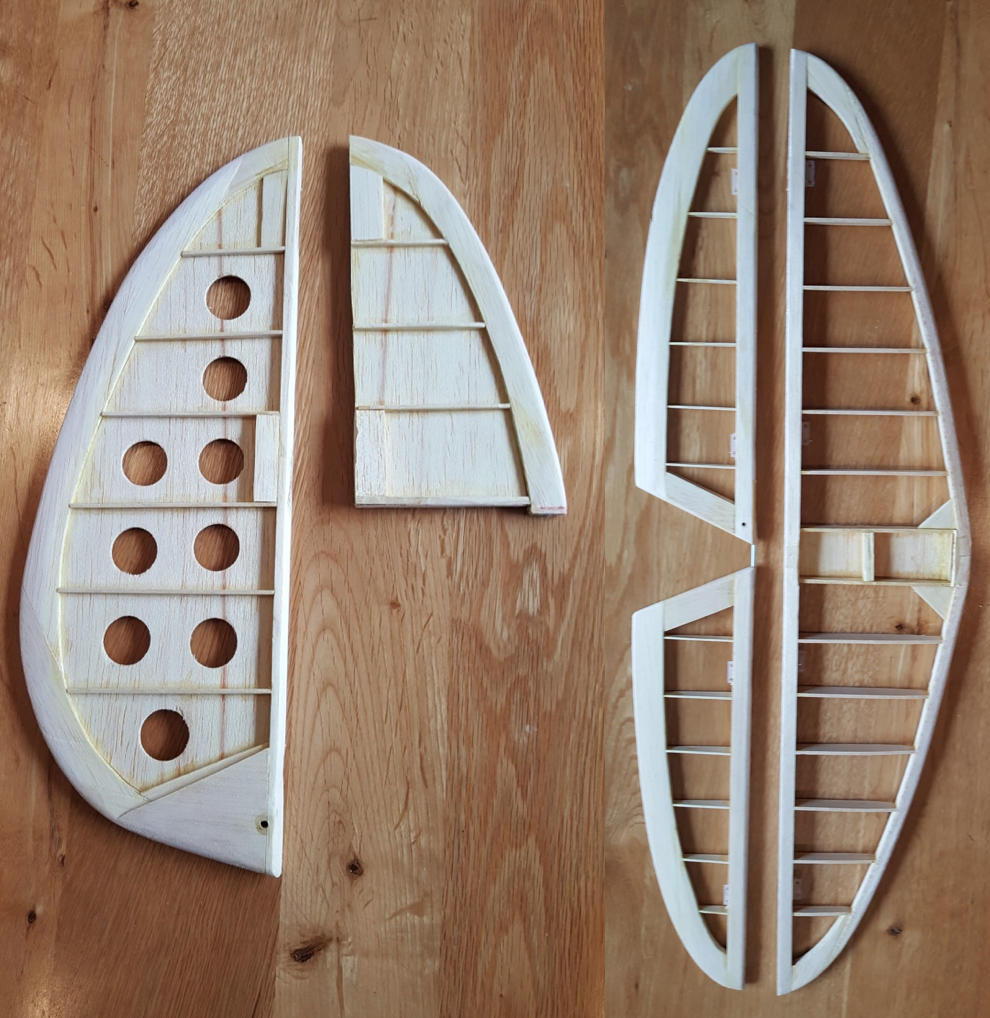
After a short burst of butchery the tail feathers were relieved from the wreckage and as you can see, in the photographs, when stripped of their covering they were in almost perfect condition.
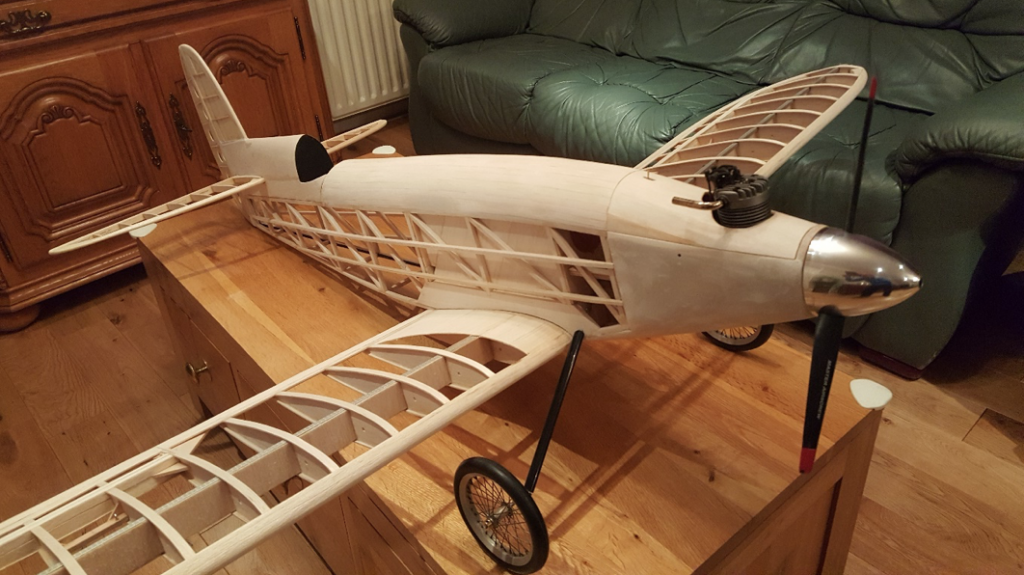
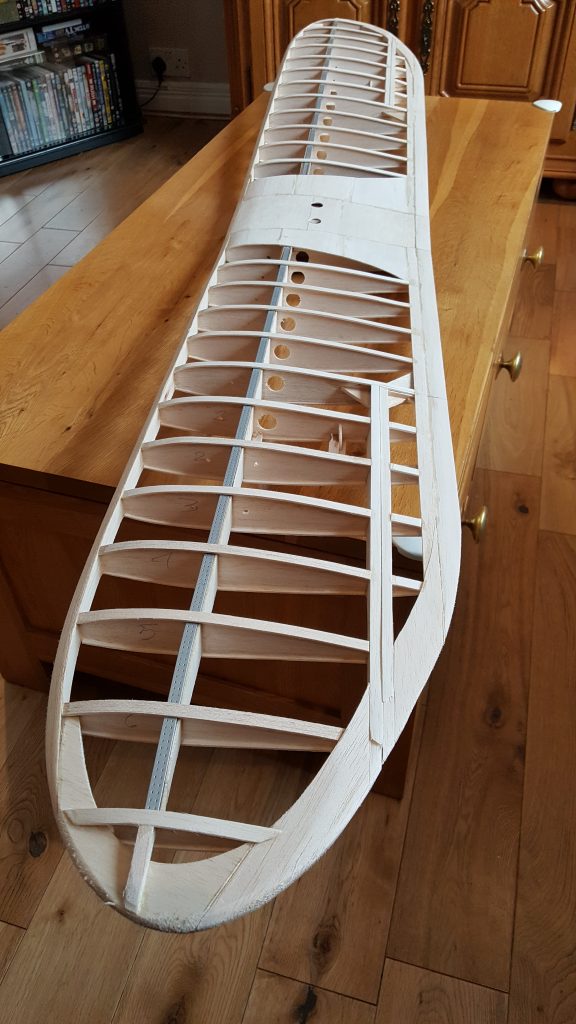
Next on the list was, back to the plan and make a new wing. I find wings to be a bit tedious and fiddly to make with all their spar bracing and cap strips, they seem to take so long. However, after a couple of weeks I had finished a new wing complete with servo mounts and it was ready to be fitted to a fuselage.
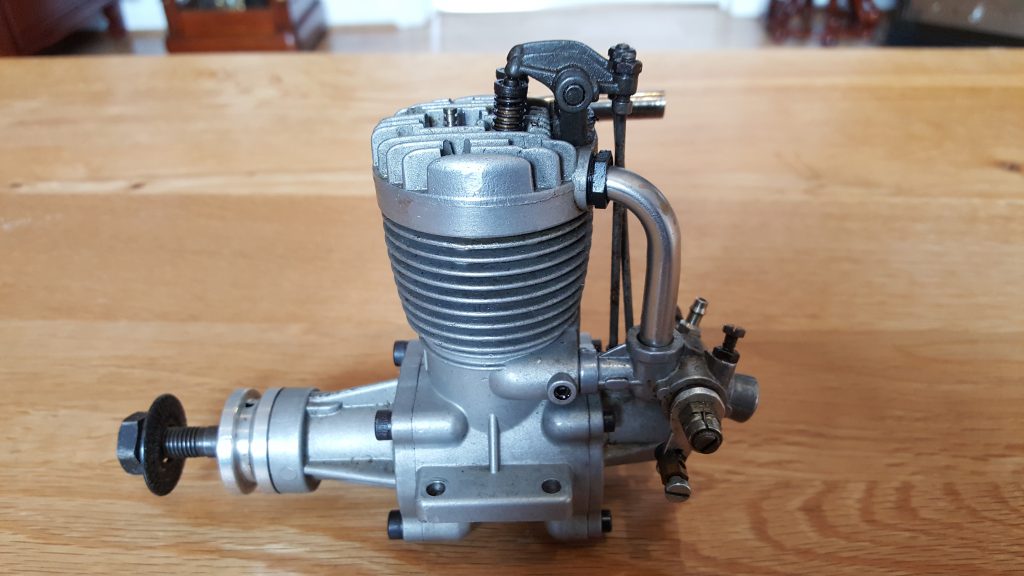
The engine will be one of the original OS .60s, one of the first four stroke motors imported to this country and is getting on for forty years old now. Not very powerful by modern standards so I will have to keep the weight to a minimum.
Next on the list will be the fuselage so, watch this space.
(to be continued)…

Here’s James’ new Extreme Flight Extra 300EXP v2. Not so much a build as most of that has been done for him.
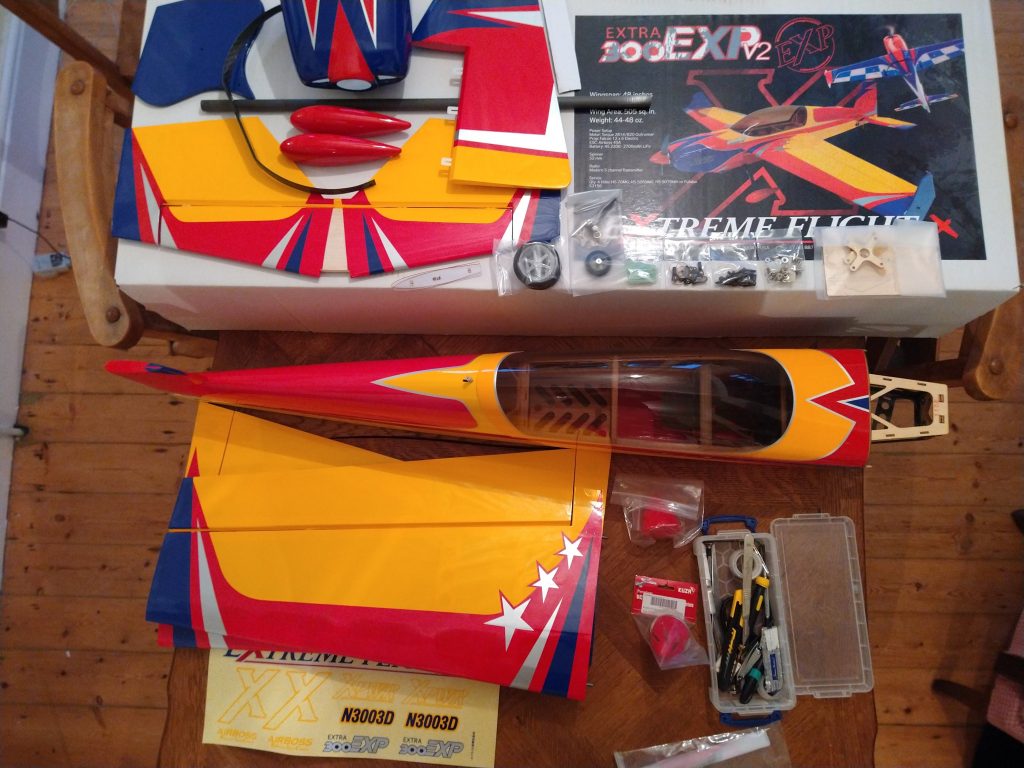
The quality of Extreme Flight kits is always very impressive as are their flight characteristics.
The only thing I’m waiting on is the motor – a Torque 2814T/820 – can’t find any of these in Europe. I’m told they’re in some container on the Atlantic, due to arrive in February!
The model is designed for 4S 2200mah size batteries. I’ll be using four Hitec 5070MH servos for the control surfaces and a 12 x 6 Falcon prop. All the hardware comes with the kit and is very good quality – I’ve never had a reason not to use their supplied gear.
Will post more pictures as the ‘build’ slowly progresses.
